|
How To Flat Join Granny Squares
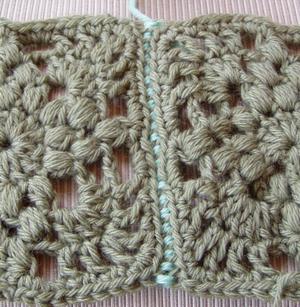
It's easy really...instead of working under both loops of the "v" along the edges of the two squares you want to join, you work under the back loops only or "blo". By joining only the back loops you leave the front loops free. This means that there's less pulling of the stitches, you achieve a flatter result and you get a pretty little edge line around each square. This also means you have a more flexible afghan, as a single crochet seam can sometimes be quite rigid especially if you are a tight crocheter. So this is what you do...
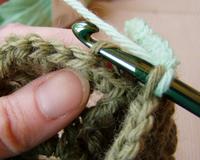
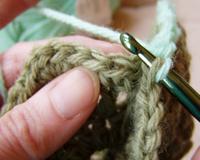
The pictures below show you the workings of a back loop only seam. As you'll see the "back loops" are those on the outside of your seam. 
This method of joining squares is quick, easy, secure and looks great as it lays flat.
|


